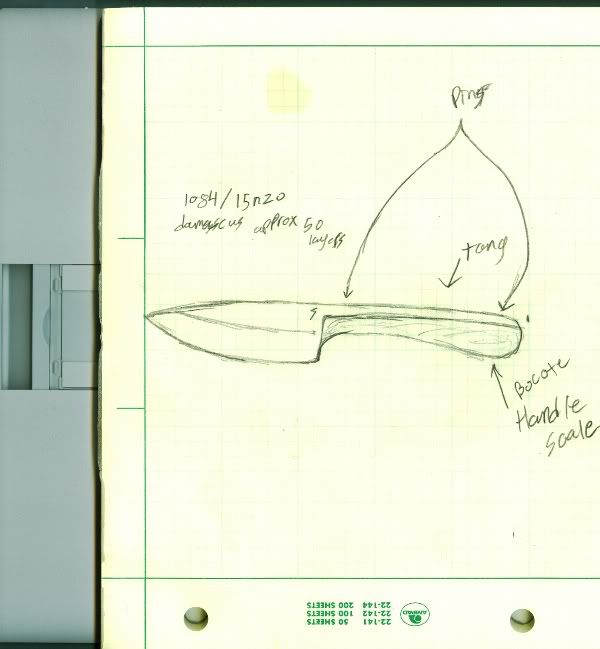
Here is where I started, a rough sketch.

I did some thunkalating, drawing, measuring, and messing around.
You'll notice the knives laying around, because I wanted to make sure I got the tang width correct, I was comparing grip sizes, lengths, etc.

I ended up with a better drawing, notice the crumpled papers, I'm not the best drawer, and it does show.

The final sketch. I'm thinking 1084/15n20 for the blade, bocote for the scale, and copper for the pins.

Thanks to Jake cleland for the idea - [url="http://forums.dfoggknives.com/index.php?showtopic=20809"]link[/url] - I actually didn't remember where I got the idea for almost a week after drawing it, but I did.
One night, I came home from welding class and found a big brown tube!
Hmmm, looks like it came from some baron or something....

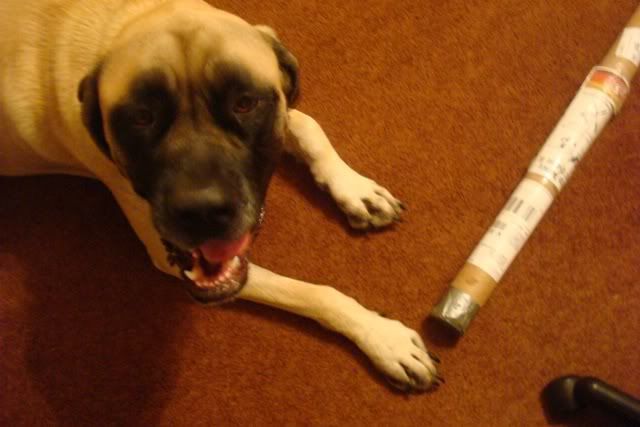
Liberty, the Mastiff in charge, approved the package.

and here's the haul, 2 bars of 5160, 3 bars of 1084, and 2 bars of 15n20.

Marked, at first I was going with 5" for the length. And yeah, I'm cutting with a hacksaw, my anglegrinder cutting discs were all worn down to nubbings from my last project that required much cutting.

5 pieces of 1084 cut.


The pieces all cut and ready. I changed my mind about the length, and went with 2 1/2" for the pieces.
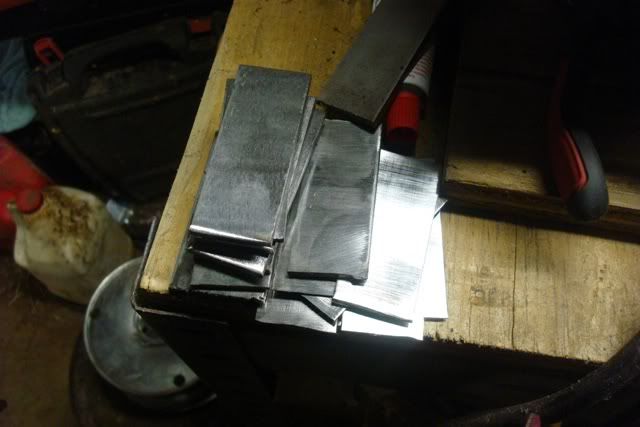
10 pieces of 1/8 x 1 x 2 1/2" 1084. and 10 pieces of 1 x 2 1/2" 15n20.

I went ahead and ground the surfaces nice and clean (shiny!).

Next was making it stay so I could forge weld it together at a later point. To do that, I ran 2 mig beads across each side of the stack.
set up and ready to tack it together.

First two beads

other two beads, and a rebar handle.

Doing the real welding now.
First, my secret method. The secret ingredient to good damascus (that I just made up) is an ice cold rootbeer during forging. One must also sprinkle some of the rootbeer on the fire as an offering to the welding god.

Well, the offering worked, these pics are post welding.


Then I forged one side of the layers flat, and ground it smooth. No obvious delams or inclusions.

Then I hit it with a worn 60 grit belt. That one spot isn't an inclusion, it's the remnants of a hammer mark I didn't want to grind out.

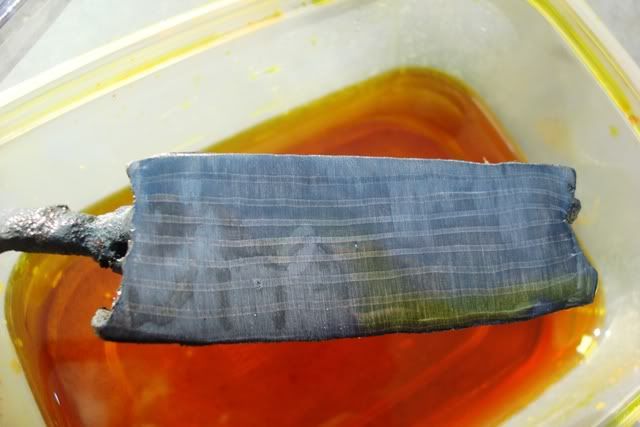
And soaked it in ferric for a minute, just to check my layers.

Layers look good, everything seems fine, so I moved on to breaking this billet down. Got my dad to hold it on the anvil, and I went at it with two handed with an 8 or 10 LB sledge. Brought it down to size in less than 10 minutes. I think it was three heats.


Then I decided to go ahead and disrupt the pattern. first I cut in grooves with the angle grinder.


then drilled in some divots.


Then I forged it flat, and ground one side down to 400.

Then soaked it in ferric for 10 minutes. just a light etch to see what it looks like.


Now I'm going to take it to welding class tomorrow, use their awesome bandsaw, and cut it in half. Then weld it again. I think I'll only do it once, but we'll see what I decide to do.
See ya'll later, Stephen.

Nice job! I can't wait to see your forge it out.
ReplyDeleteZachary
Wow! I really enjoy watching you fabricate your creations. Using photographs to show everyone how you go about accomplishing the finished product will give most people a real appreciation for your handmade knives!
ReplyDeleteGood on you!
irontomflint