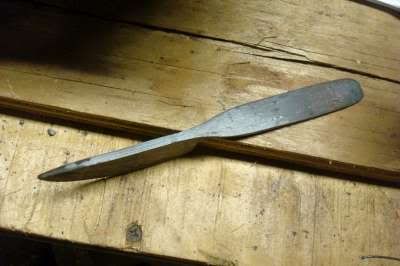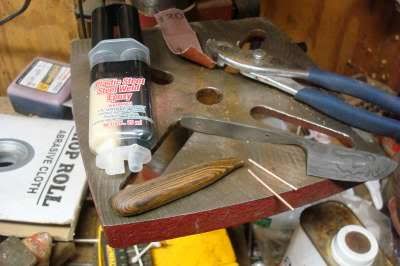

Some grinding, filing and sanding.


When that was finished I cut a bocote block for the handle, and started working it.
Block cut

Radius begun on the ginder

Worked closer with files and sandpaper


Radius finished; I marked the tang shape on the block, and cut the corners and such on my new old bandsaw.

Then I drilled holes, and temporarily pinned it so I could shape it. Sorry, I forgot to take many pics, so the next one I have is of the handle almost all the way shaped. Skipped the whole drilling and pinning thing.


Sanding the shaped handle.


Then I drove out the pins, and removed the handle. Here's just the handle scale (or is it a block?)

The blade coated with slip to minimize scale when HTing

In the forge, I've got it in a muffle, running the forge fuel rich, and the blade coated with slip. I don't want to have to grind away to get past scale, my tang is thin right now, and can only get thinner.


Next step is to handsand the blade before etching to reveal the pattern.


and sanding, I start using a mix of water and borax as a lubricant once I start sanding 220 grit, it help's keep the sandpaper from clogging as fast.


When finally, I have it sanded to a nice smooth 320 grit. This isn't the smoothest I could get it, but for a low layer count, and a longer etch like I plan on doing, it will still look fine.

Now I'm ready to etch it, but first I'll clean off any oils or fingerprints. I use windex and then acetone.

I use latex gloves also, that way I don't put more prints on it. Spray it down with windex, and wash er' good.

Then wipe it down with an acetone on a papertowel (or rag).

Clean!

It's etched and ready for a handle, so I gave it just that.
First I needed pins, I wanted copper, so I got some copper electrical wire, chucked it in a drill, tightened in a vise, and gave a good tight twist.

Now I've got the prepared pins, bocote, and the etched knife.

Whenever your working with bocote, keep the following in mind... Bocote is oily, so wipe it down with acetone before glueing it or finishing it, always always always! I made the mistake once of trying to tru oil it without the wipedown. Stayed gummy for a full day, and finally had to sand it back.

The bocote and the acetone soaked q-tip after wiping it down. You can see all the oils that came out of it.

Okay, sorry I skipped so much here, but my hands were sticky with epoxy and I couldn't pull out my camera.
Here is the knife, epoxyed handle, and peined copper pins.

And some pics of it almost done. I still need to do a little work on the blade, oil the handle, and sharpen the thing.


No comments:
Post a Comment